How to Use a French Press
Naturally, when I grew older and got a place of my own, a small french press was one of my first purchases. What followed was a journey to discover how to make the best damn cup of french press coffee possible.
Now it’s time I share my findings with you, for what is knowledge if it is not shared? Let’s begin…
First, Why French Press?
When you choose to use a french press, you have greater control over your final brew. You can ensure that your water is heated to the right temperature, that the hot water will be evenly distributed, you can grind your beans to the perfect level of coarseness, and have control over your preferred brewing length. We will go into the details of these elements below, but for now, just know that this method allows you to confidently and easily make your perfect cup of coffee.
Using a french press also allows for steeping, giving the coffee time to blend with the water and develop a full-bodied brew. As the filter is usually made from a metal mesh, you will not develop unnecessary waste and you will get no impurities in your cup, as the natural oils from the bean seep to develop a rich taste full of flavor and aroma.
Lastly, making coffee in a french press is an affordable method with great versatility in size, coming in sizes small enough for a single cup and large enough for your group of friends.
What do I need to make my french press coffee?
To get started, you will need the following items:
- French press
- Whole coffee beans
- Coffee grinder
- Water heater
- Stirring spoon
- Scale (optional)
Let’s Talk About What Makes a French Press:
The anatomy of your french press is simple. It contains a beaker, where you brew your coffee, and a handle for you to safely grab from. The lid comes with a plunger that has a filter attached at the bottom, which is where you will push down your beans to pour yourself a clean cup.
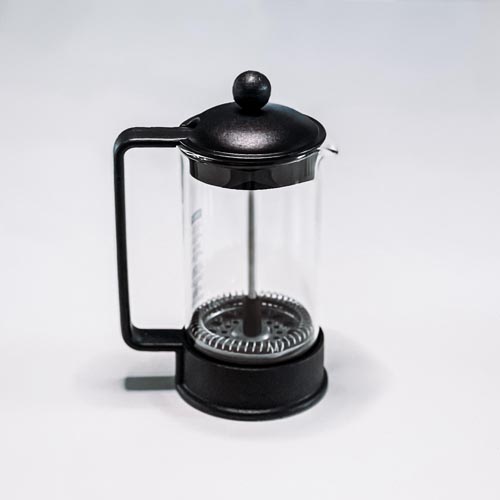
If you are just looking for a trustworthy brand, Bodum is a high quality brand that distributes to more than 55 countries.
The freshest coffee grounds are made at home with a grinder:
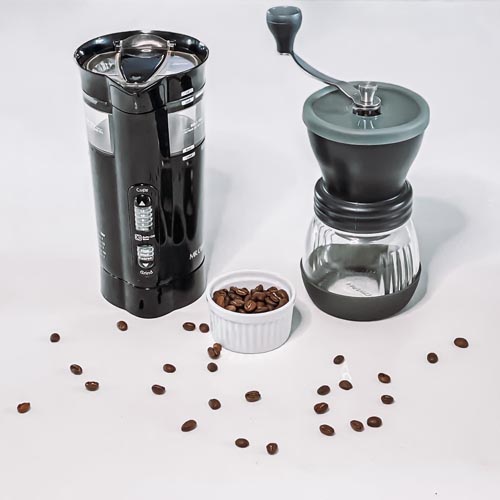
You will need a reliable tool to get your coffee ground and ready for you. If you are curious to know which grinder is best for you (manual or automatic, single blade or burrs?) I encourage you to check out our article here that dives deeper into manual vs. automatic grinders.
As you will learn later, grinding the coffee at home gives your brew an added freshness compared to having your coffee pre-ground.
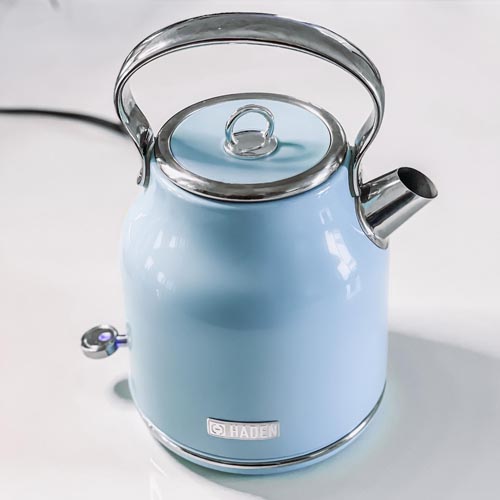
Selecting a water heater:
Stirring spoon:
Any clean metal spoon will do!
Optional: measure your coffee using a scale.
If you choose to measure your coffee, you might want to use a scale. You can use any standard kitchen scale, such as this one from GreaterGoods, or a scale specifically made for measuring coffee like the following: TIMEMORE coffee scale or Hario V60 Drip Coffee Scale and Timer.
Step-By-Step: Making French Press Coffee
One: Grab Your Beans
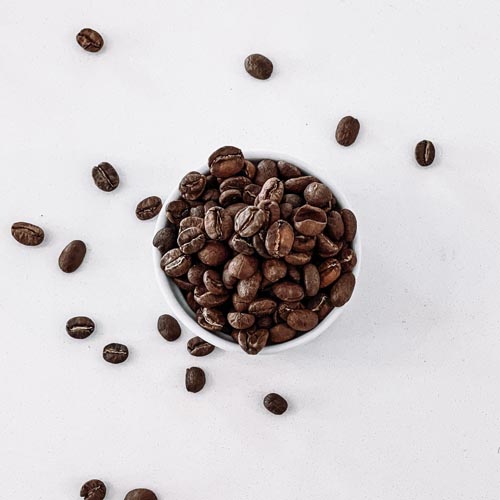
For the best cup, you are going to want to use fresh, whole bean coffee. Pre-ground coffee is likely already stale upon purchase, meaning it is quickly losing flavor, while whole beans will remain fresher and give you more control over the outcome. When you buy your coffee, compare the roasting dates, and go for the freshest option. This will start you off with your best foot forward.
Two: Determine Amount
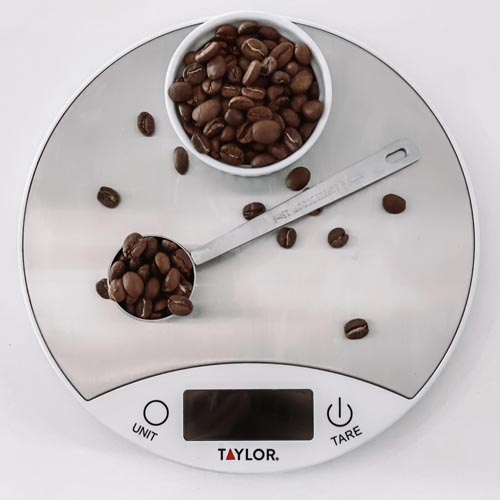
Now you can determine your dosage! This step will allow you to make sure that you use enough coffee to ensure your drink doesn’t taste bland, but not so much that it tastes sour. From there, it is up to you to personalize that dosage based on what tastes best to you. There are two ways you can measure this: weight or volume.
If you go by weight, then before you grind your beans you will use a scale to measure the number of grams in your serving. When starting out, I would recommend trying a 15:1 water-to-coffee ratio and determining if that results in a satisfying cup for you (or if you would prefer stronger or weaker, in which case you would add or subtract coffee). This would mean that for every gram of coffee you measure, you will want 15 grams of water. So if you want an 8 oz cup of coffee (1 oz = ~28g), you will want to weigh about 16g of coffee and add 237ml hot water. Why? Because 8 oz = 227ml, and dividing that by 15 (because of our 15:1 water ratio) shows that we need about 16g of coffee for this cup size. This method will give you the highest amount of reliability, allowing you to specialize your perfect cup and make it every time.
The other option is to go by volume. When starting out here, I would recommend about 1 tablespoon of coffee per 4 oz of water (again, this is number flexible to your needs). That would mean if you want an 8 oz cup, you would add about two tablespoons of coffee. There is less reliability here than weighing, simply because dark coffee beans weigh less than light beans, since they have less water due to roasting time. That means one tablespoon of each will result in different strength coffee, which could be accounted for by weighing.
Dosage is a personal choice and either of the above methods will work fine in helping you make your perfect cup. Some people will try to tell you there is a right way… but here is the deal: only you can tell you how strong you want your coffee to be. Just get out there and enjoy it!
Three: Rise and Grind
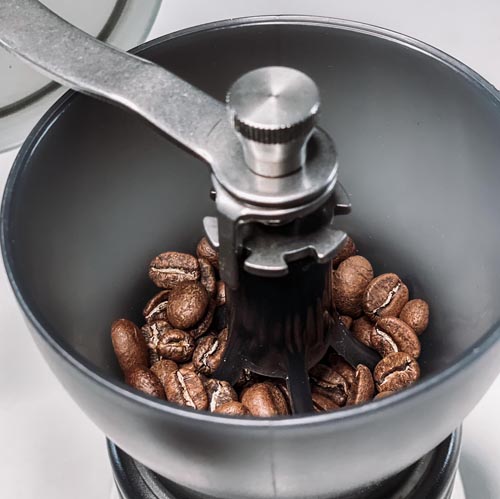
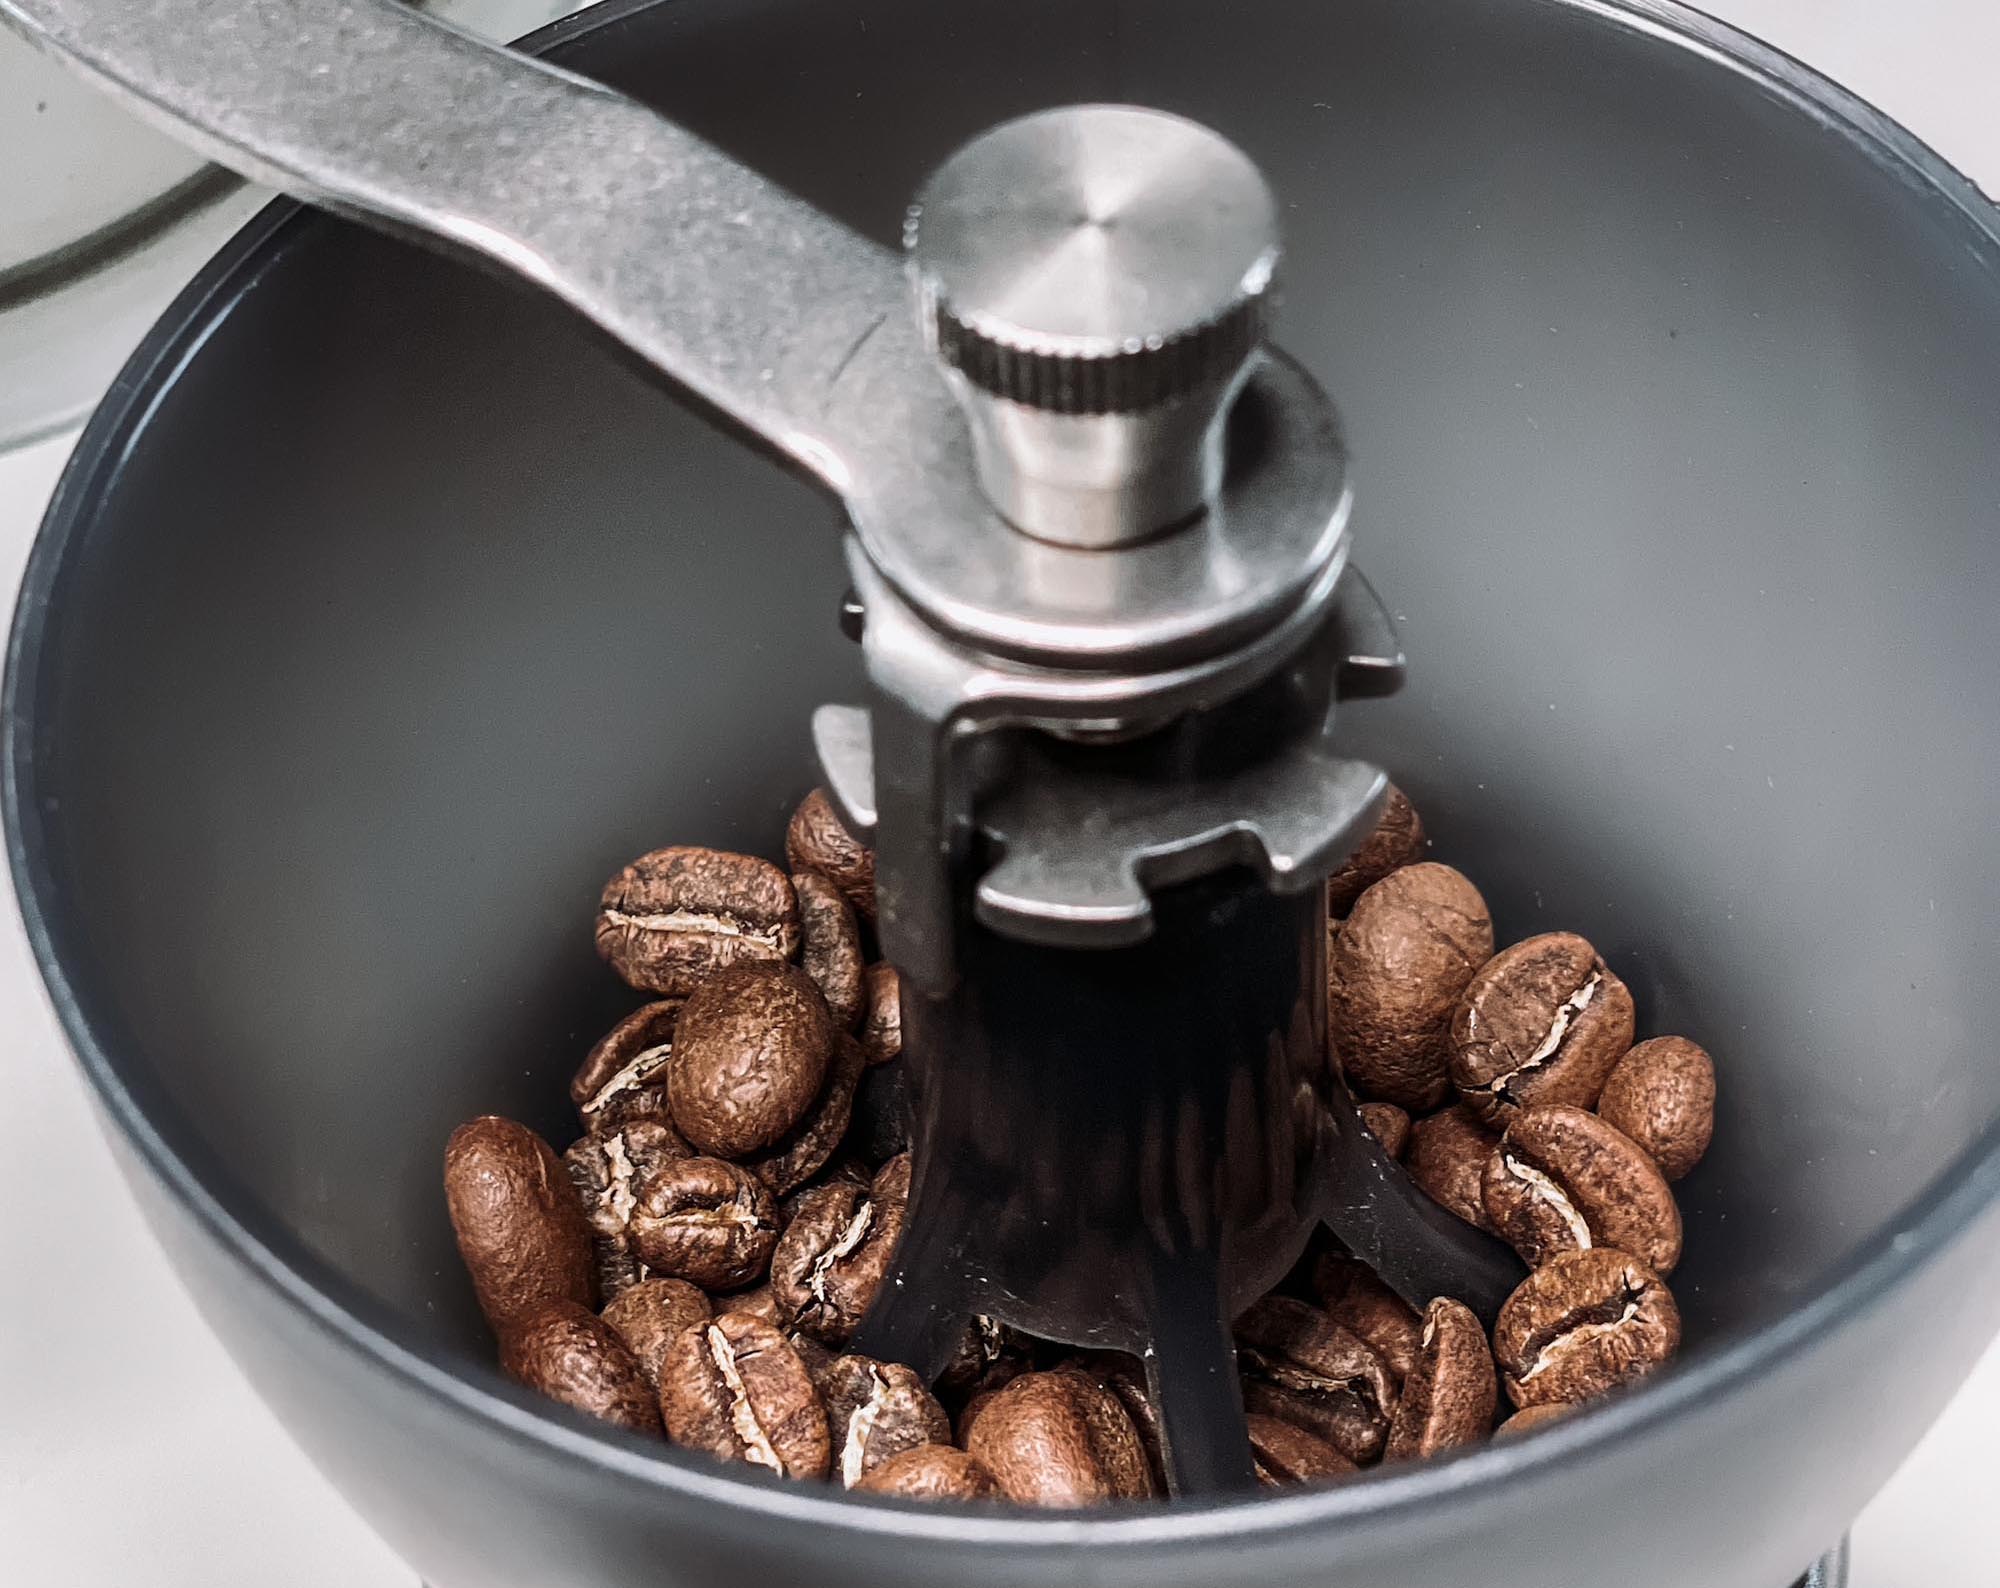
Time to take those whole beans and grind them for a fresh cup! Here, you want to ensure you grind them to be coarse or medium-coarse. If it is too thin, your coffee will taste bitter and you might get bean sediment in your drink, but if it’s too large it will result in lack of taste at all! To get that right size, you will need either an automatic or manual grinder. The automatic grinder will come with settings where you can choose the one that will make you a coarse cup. If you want to manually create this coarse grind, you will grind until the beans look relatively uniform but the particles are still relatively large, resulting in a chunky look. See example below:

Go ahead and put your ground beans in your beaker.
Four: Boil, Pour, and Steep
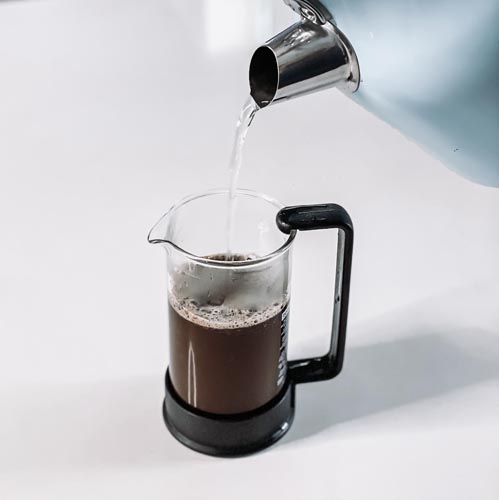
Next, ensure that your water is at a quality level that you would drink plain. If there is a bad taste to the water, this will effect your coffee as well. Once sufficient, you will want to boil the amount of water that you determined in step two.
If you have a water boiler that shows you the temperature, you will want to hit the ideal temperature of 195-205 F or 90.5-96.1 C. If you cannot measure water temperature, then simply wait about 30 seconds – one minute after boiling. This will prevent burning your coffee but allow the water to be hot enough to extract flavor.
Now, slowly pour the hot water over the beans in your beaker and take a spoon to lightly stir. This allows all the coffee to get into contact with the water. Now you can put your lid on the beaker to help with insulation, but wait, before you push down on that plunger, we have a very important step left.
From here, set your timer and steep time to be about 3 – 6 minutes. The amount of time is personal preference, with some finding 4 minutes to be the perfect amount of time and others finding it to be 5.
Five: Serve
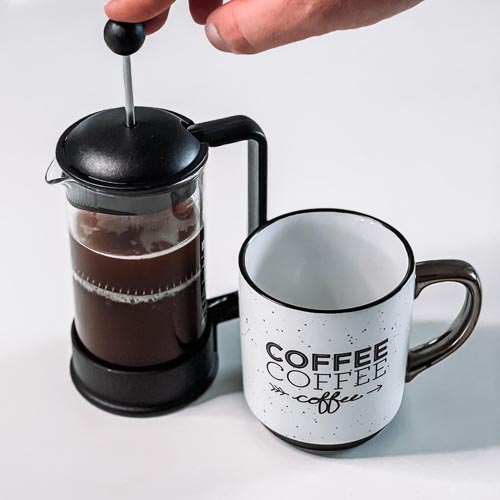
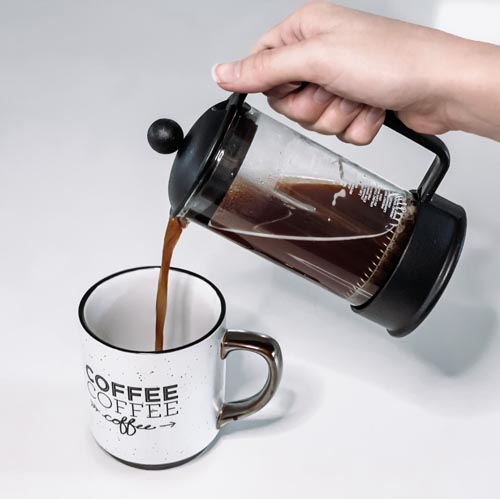
Now, gently press the plunger down. You have the option to press down all the way, or to leave a half inch at the bottom to catch remaining sediment. Keeping the plunger in its position, you can now pour out of the beakers spout and into your favorite coffee cup.
Enjoy your delicious coffee!
There many ways to make a great cup of coffee!
Read about all the great coffee and epresso machines on the market.
Why are espresso machines so expensive?
6 reasons why espresso machines can get pricey. Advanced features increase the cost. Espresso...
What is a Super Automatic Espresso Machine?
Everything you need to know to make the perfect french press coffee! From grinding, dosing, water heating, steeping and more.
How to Make a Cappuccino With or Without an Espresso Machine (Easy Steps)
If you are one of the many coffee lovers who enjoy the decadence of foamed milk in your coffee,...
How to Make a Flat White That Would Make Your Barista Proud
Many people see flat whites as a coffee drink best served at their local coffee shop. That said,...
Ready for more? Read our other recent posts:
Why are espresso machines so expensive?
What is a Super Automatic Espresso Machine?
Everything you need to know to make the perfect french press coffee! From grinding, dosing, water heating, steeping and more.
How to Make a Cappuccino With or Without an Espresso Machine (Easy Steps)
How to Make a Flat White That Would Make Your Barista Proud

Links
- Privacy Policy
- Terms and Conditions
- Affiliate Policy
- Do Not Sell My Information
Disclaimer: Some links posted may be affiliates, and my company receives an affiliate commission for any purchases made by you on the affiliate website using such links. Affiliates include but are not limited to Amazon.com.
